
PINK CHAMPAGNE CAKE
PINK CHAMPAGNE CAKE
A (SLIGHTLY) HEALTHIER VERSION

So why is this recipe healthier? Cake is essentially butter, flour, and sugar. So we use butter from grass-fed, pasture-raised cows, as opposed to that from cows stuffed with low-quality, monoculture corn—or highly stressed from confinement. This makes a noticeable difference for butter quality and for our health. (We recommend reading Chef Dan Barber’s The Third Plate to learn more about the importance of pasture-raised animals.) We also use flour from The Flourist, which isn’t bleached, refined, or weighed down with synthetics and preservatives; you can read more about why we love them here.
This cake also uses sparkling wine! So what is the healthiest option? Low-intervention, natural wine. “Made from organically or biodynamically farmed grapes, with little to no intervention during production, [natural wines] defy conventional winery practices, which often rely on chemical manipulation, additives, fining and filtration,” states one article in the New York Times. So we chose a local, natural wine producer, Narrative, for our bubbly. We also prefer cane sugar, which is less refined.
YOU’LL NEED:
(for the cake)
2 cups Flourist flour
1 cup pink Champagne (or sparkling rosé, Prosecco, Cava)
1 1/2 cups granulated sugar (preferably cane)
3/4 cup unsalted, grass-fed, pasture-raised butter, room temperature.
2 teaspoons (tsp) baking powder
2 tablespoons (tbsp) grass-fed, pasture-raised sour cream
3/4 tsp finely ground, pink Himalayan rock salt
3 egg whites
1 egg
1 1/2 tsp vanilla
1 drop red gel colouring
(for buttercream frosting)
1 cup unsalted, butter, room temp
1 tsp vanilla
6-8 cups confectioners’ sugar (icing sugar)
1/2 cup pink Champagne
1 tbsp sour cream
1/2 tsp salt
1 drop red gel colouring
(optional for decorating)
light pink roses, or any flower of your choice
white or ivory toned decorating pearls
ODD TOOLS:
large angled frosting spatula
soft-grip, multi-purpose scraper (optional)
cardboard cake board (optional)
turntable/rotating cake stand (optional)

These are the ingredients we use, but feel free to source your own favourites!
How to make it!
Feel free to refer to the photos below. They don’t include every detail like the below steps do, but should help you envision what is happening in each step.
STEPS:
For the cakes:
1. Preheat your oven to 350°F
2. With butter or coconut oil, grease, and flour two small cake pans. Place in fridge (or cool place).
3. In a large bowl, whisk flour, baking powder, and salt. Set aside.
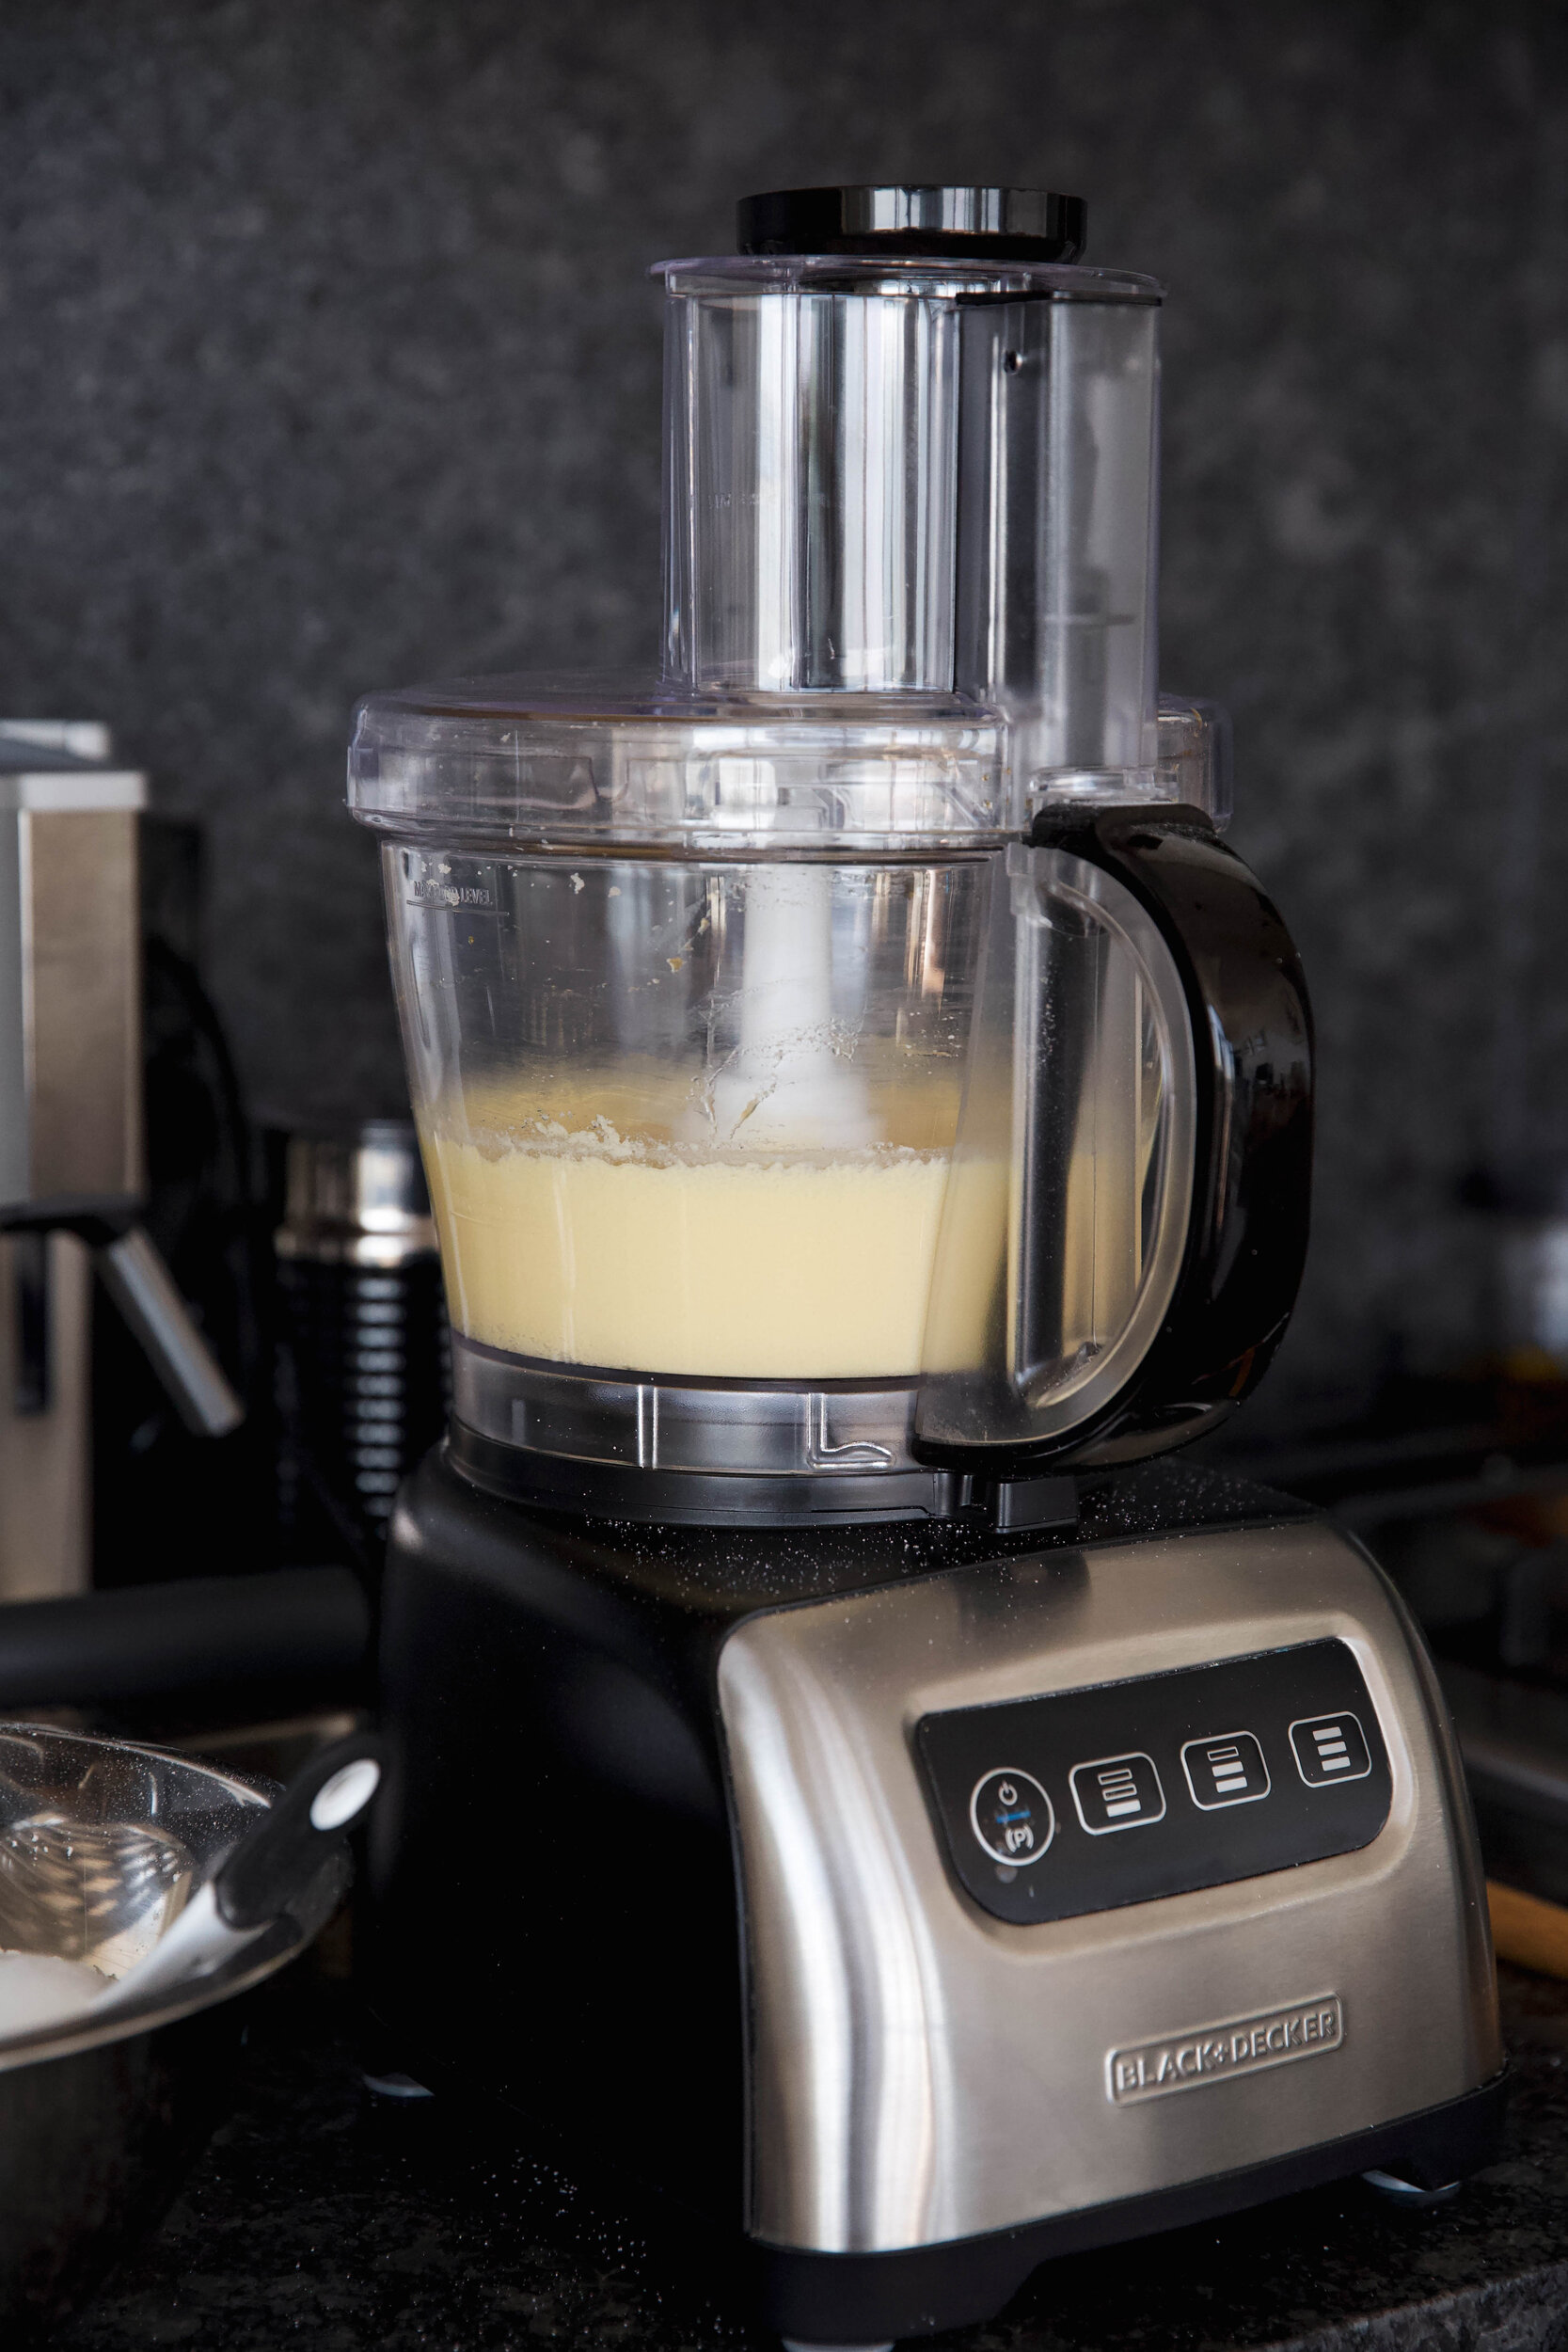
4. In another bowl (or stand mixer/food processor) beat the butter + sugar until fluffy. Separate egg whites, then add them to the butter mix one at a time, blending between additions. Stir in the vanilla, then the last full egg; mix until well combined.
5. Alternate adding the flour mixture (half-cup by half-cup) and champagne (tbsp by tbsp) beginning and ending with the flour. Mix in the sour cream until well incorporated.
6. Add 1 small drop of red gel food colouring, mix until light pink in colour.
7. Divide the batter evenly between the two cake pans. Smooth down the batter with a spatula if necessary.
8. Bake for about 35-40 minutes — or until a toothpick inserted into the centre pulls up smoothly, with no batter on it.
9. Transfer to a baking rack to cool (about 10 minutes). Flip over the cake pans onto the rack. Let cool completely.
For the frosting:
1. Add the butter to the bowl of a stand mixer or tall pot and beat until fluffy.
2. Add vanilla and mix. Add 1 cup “icing” (confectioners') sugar, beating until well incorporated.
3. Add another cup of icing sugar and beat until smooth; Turn the beater/mixer to low and mix in champagne, tbsp by tbsp.
4. Add remaining icing sugar, one cup at a time at medium speed. Beat until the desired consistency is achieved.
5. Mix in 1 tbsp sour cream and 1/2 tsp salt. (This cuts the sweetness a tiny bit.)
6. Add 1 drop of red gel food colouring and mix until your desired tone of pink.
7. Transfer the frosting to an airtight container. Store at room temp for 1 hour.
Frosting the cake:
1. Place one cake layer on a cardboard “cake board”. Place them on top of a rotating cake stand, or “turntable”. Fully frost the top (not the sides yet) and chill in fridge for around 15 minutes.
2. Add the second cake layer directly on top of the frosted bottom layer. Evenly spread the rest of the frosting to cover the cake, thickly coating the sides. Use an angled spatula or multi-purpose scraper to even out the frosting — or to create a “semi-naked” look where the cake underneath comes through in places.
3. Cut the roses so that only 1 or 2 inches of the stem is attached; Place the roses as you like on the cake. Use decorating pearls to detail your cake. Tip: with the pearls, making variations of an S-shape up the sides is nice on the human eye.

mix flour, salt, & baking powder

mix the butter & sugar in processor or mixer

separate egg whites from eggs
combine egg whites with butter/sugar mix; add vanilla & last full egg

prepare 1/2 cup of pink champagne/bubbly

mix in flour (half-cup by half-cup) alternating with champagne (tbsp by tbsp)

mix in bubbly (tbsp by tbsp), alternating with flour (half-cup by half-cup)

mix in sour cream

mix in 1 drop of red food colouring; combine until light pink in colour

divide batter between the two greased cake pans

bake for 35-40 minutes, or until toothpick comes out clean

if you have leftover batter, make cupcakes!
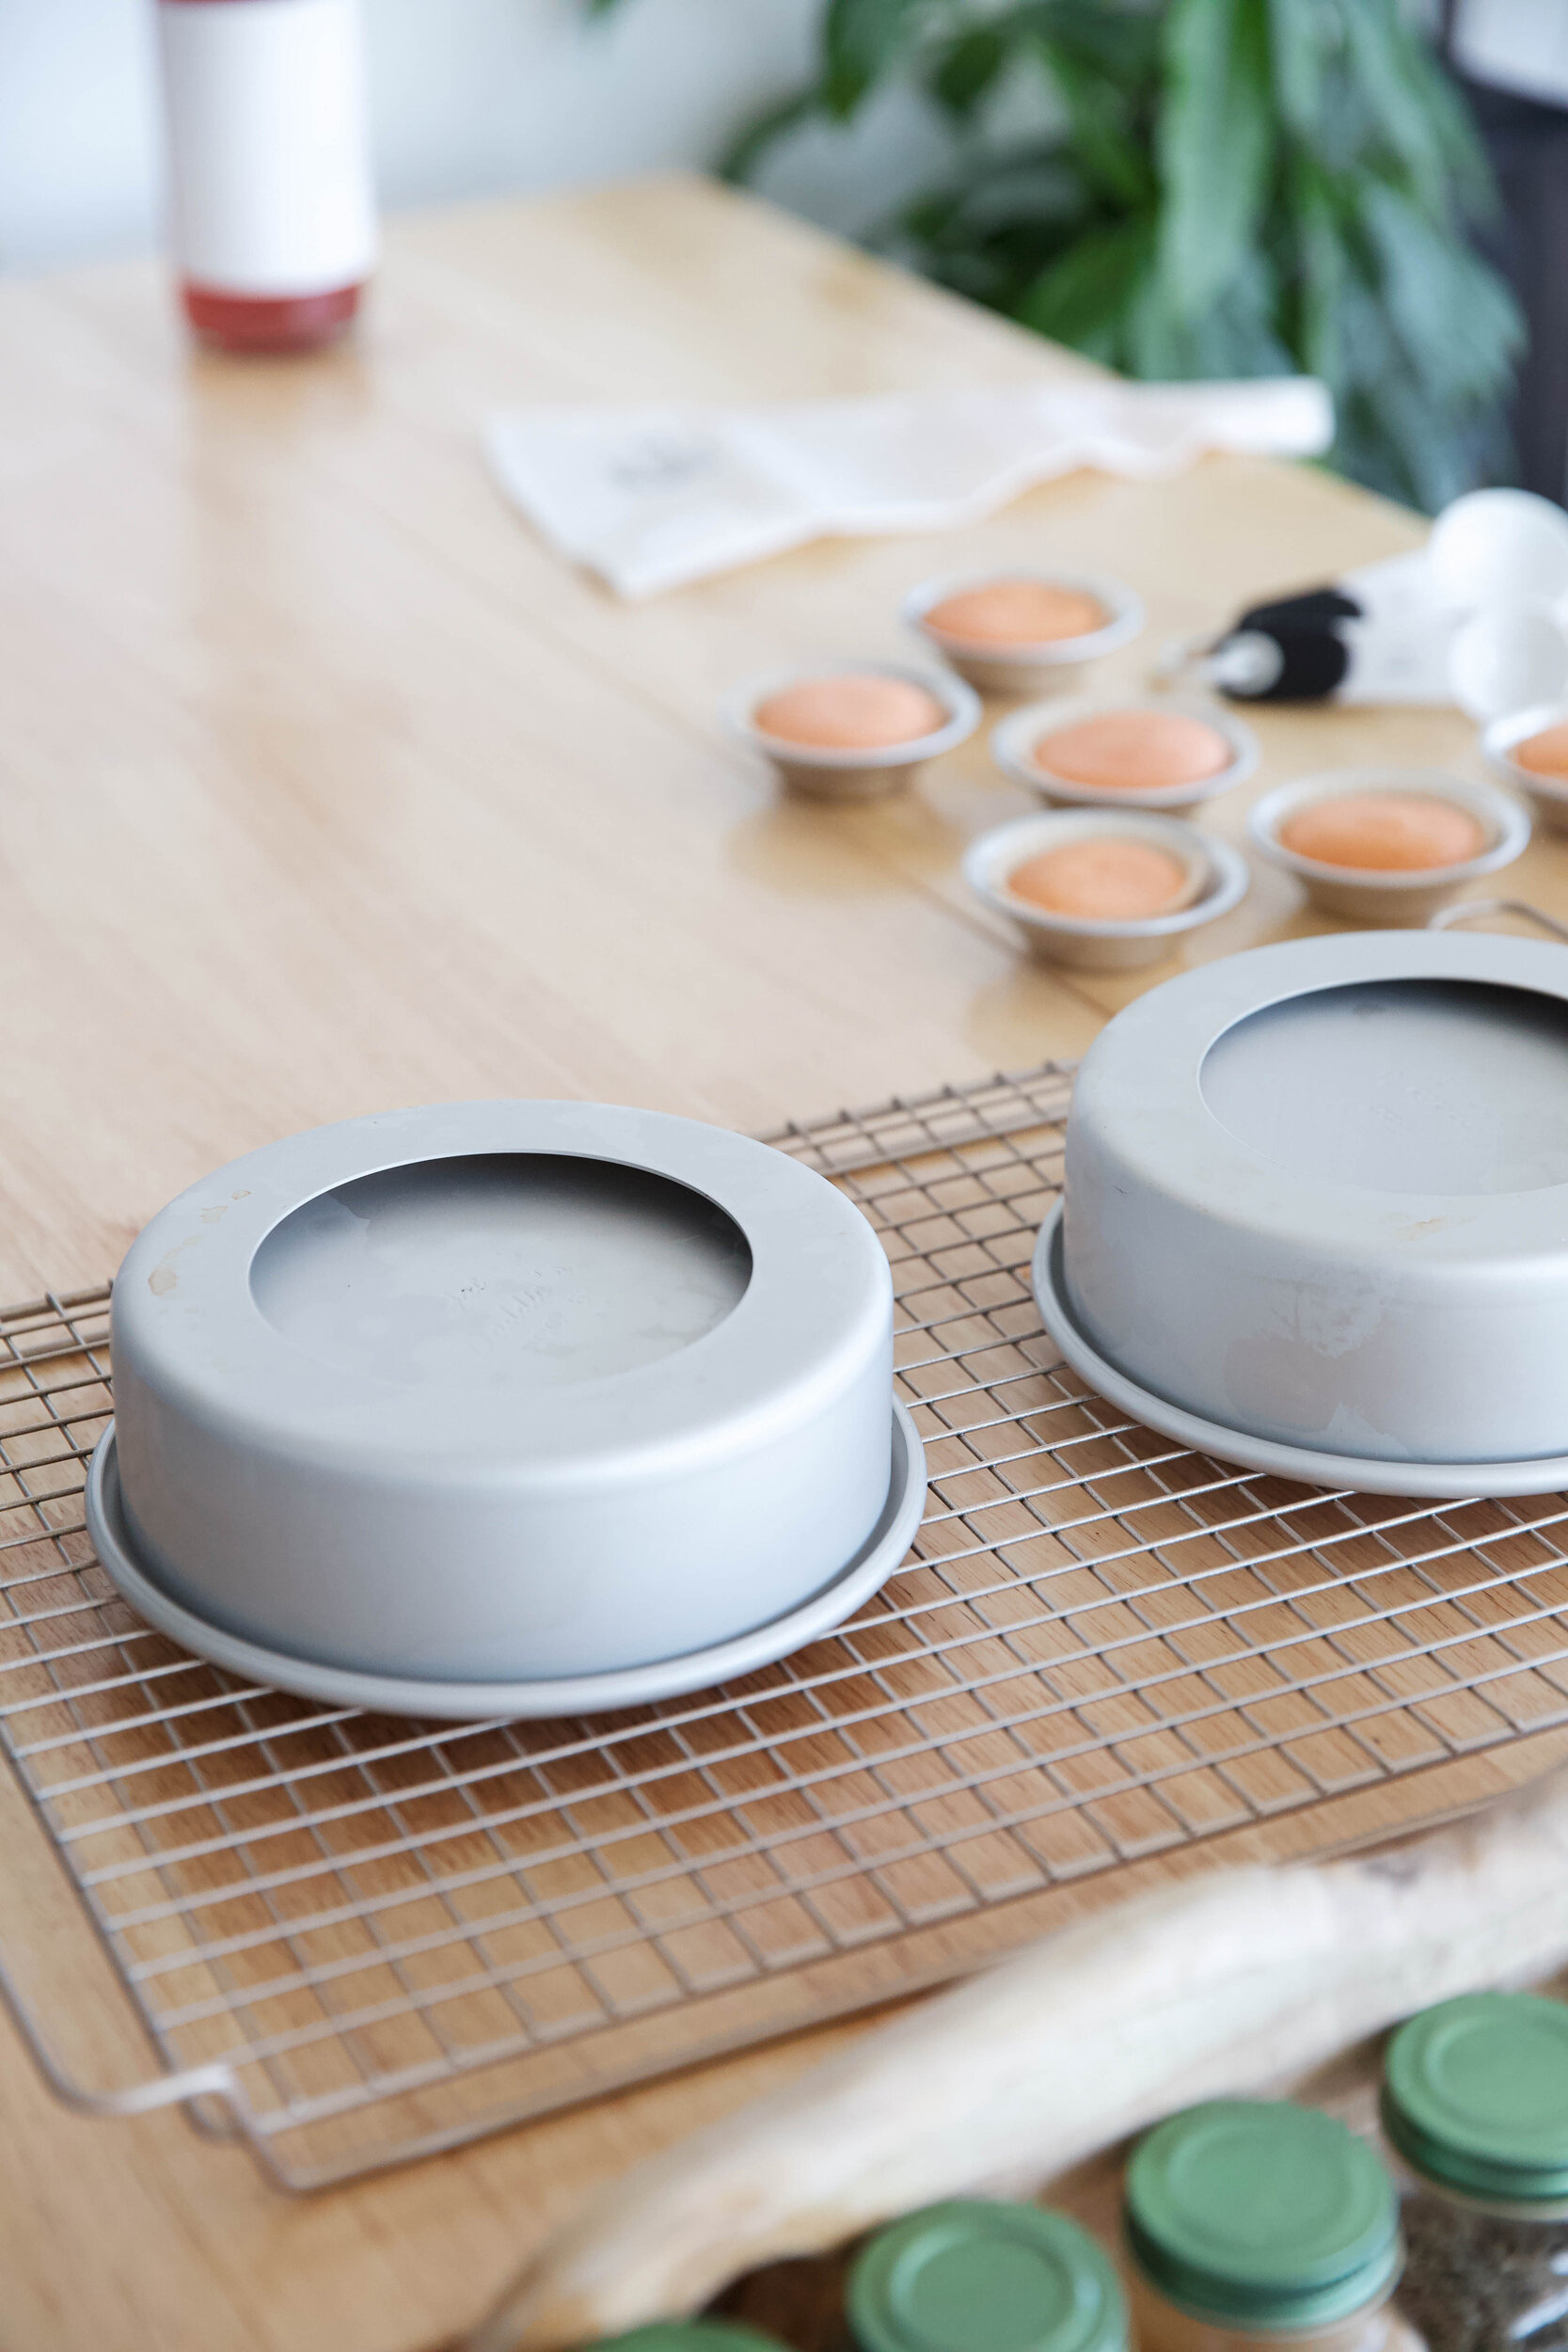
let cool on baking rack

making the frosting
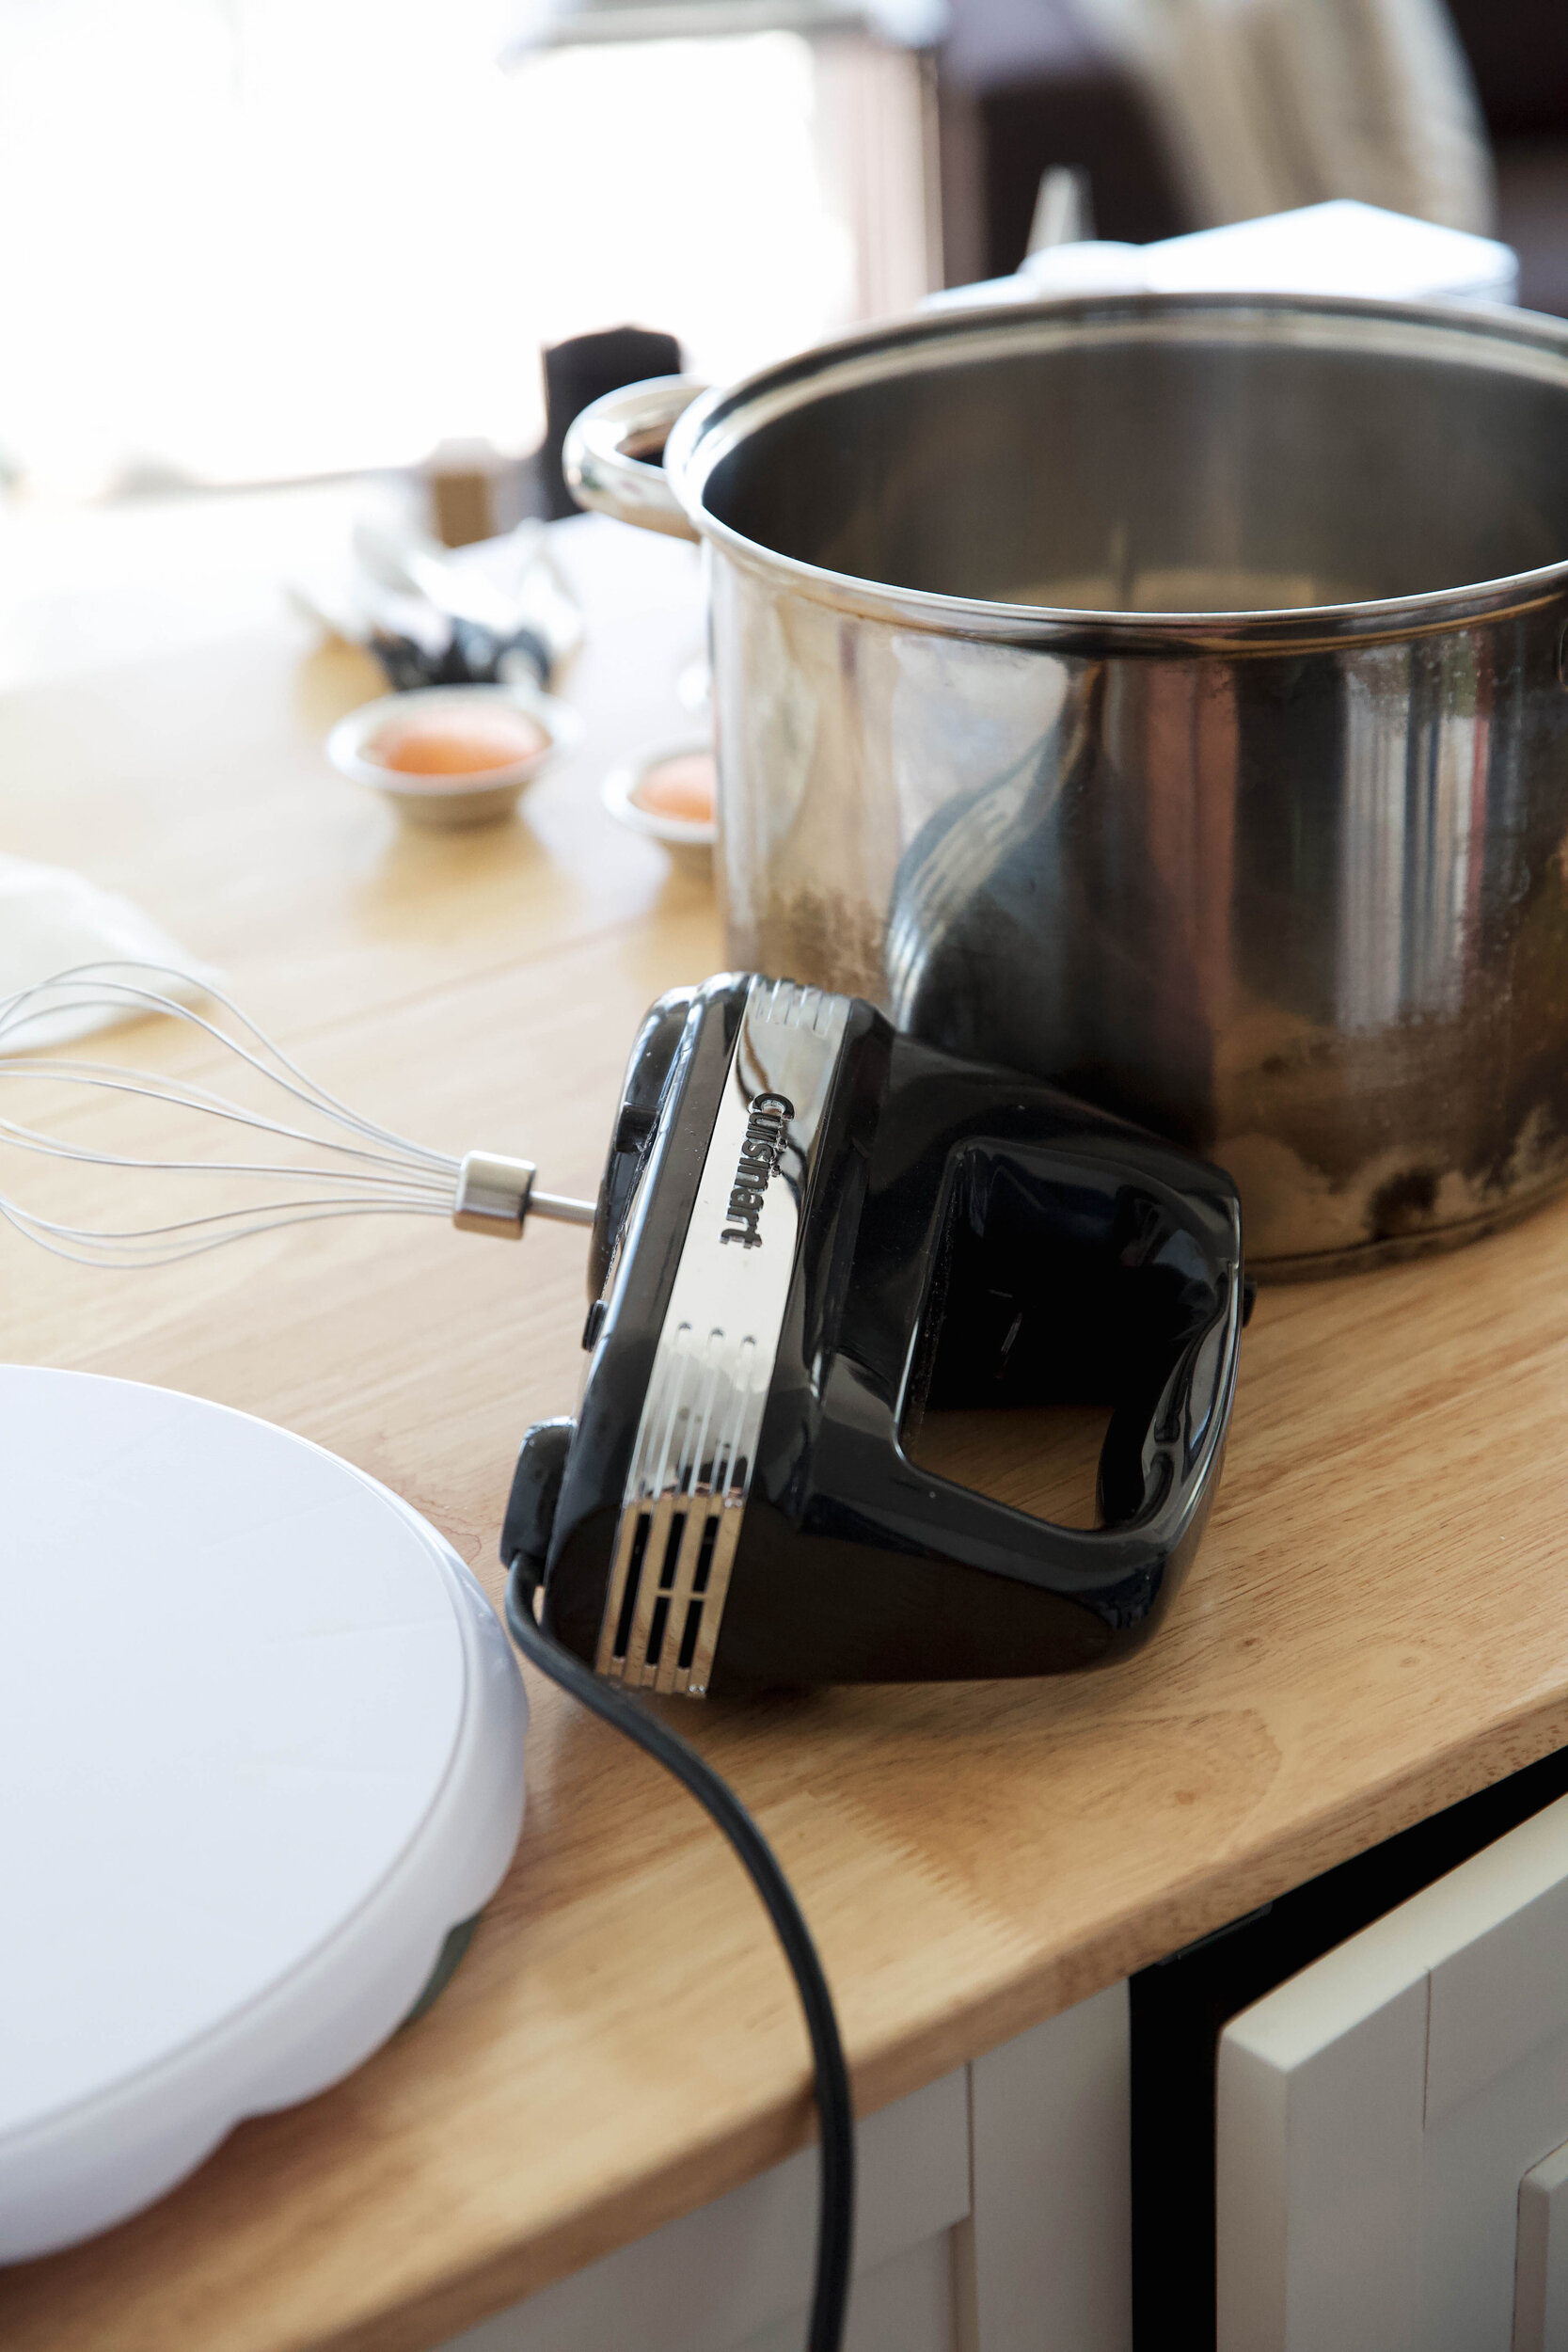
place room temp butter in stand mixer (or deep pot!)

beat butter until fluffy

prepare 1/2 cup pink bubbly

sift in 1 cup icing/confectioners’ sugar
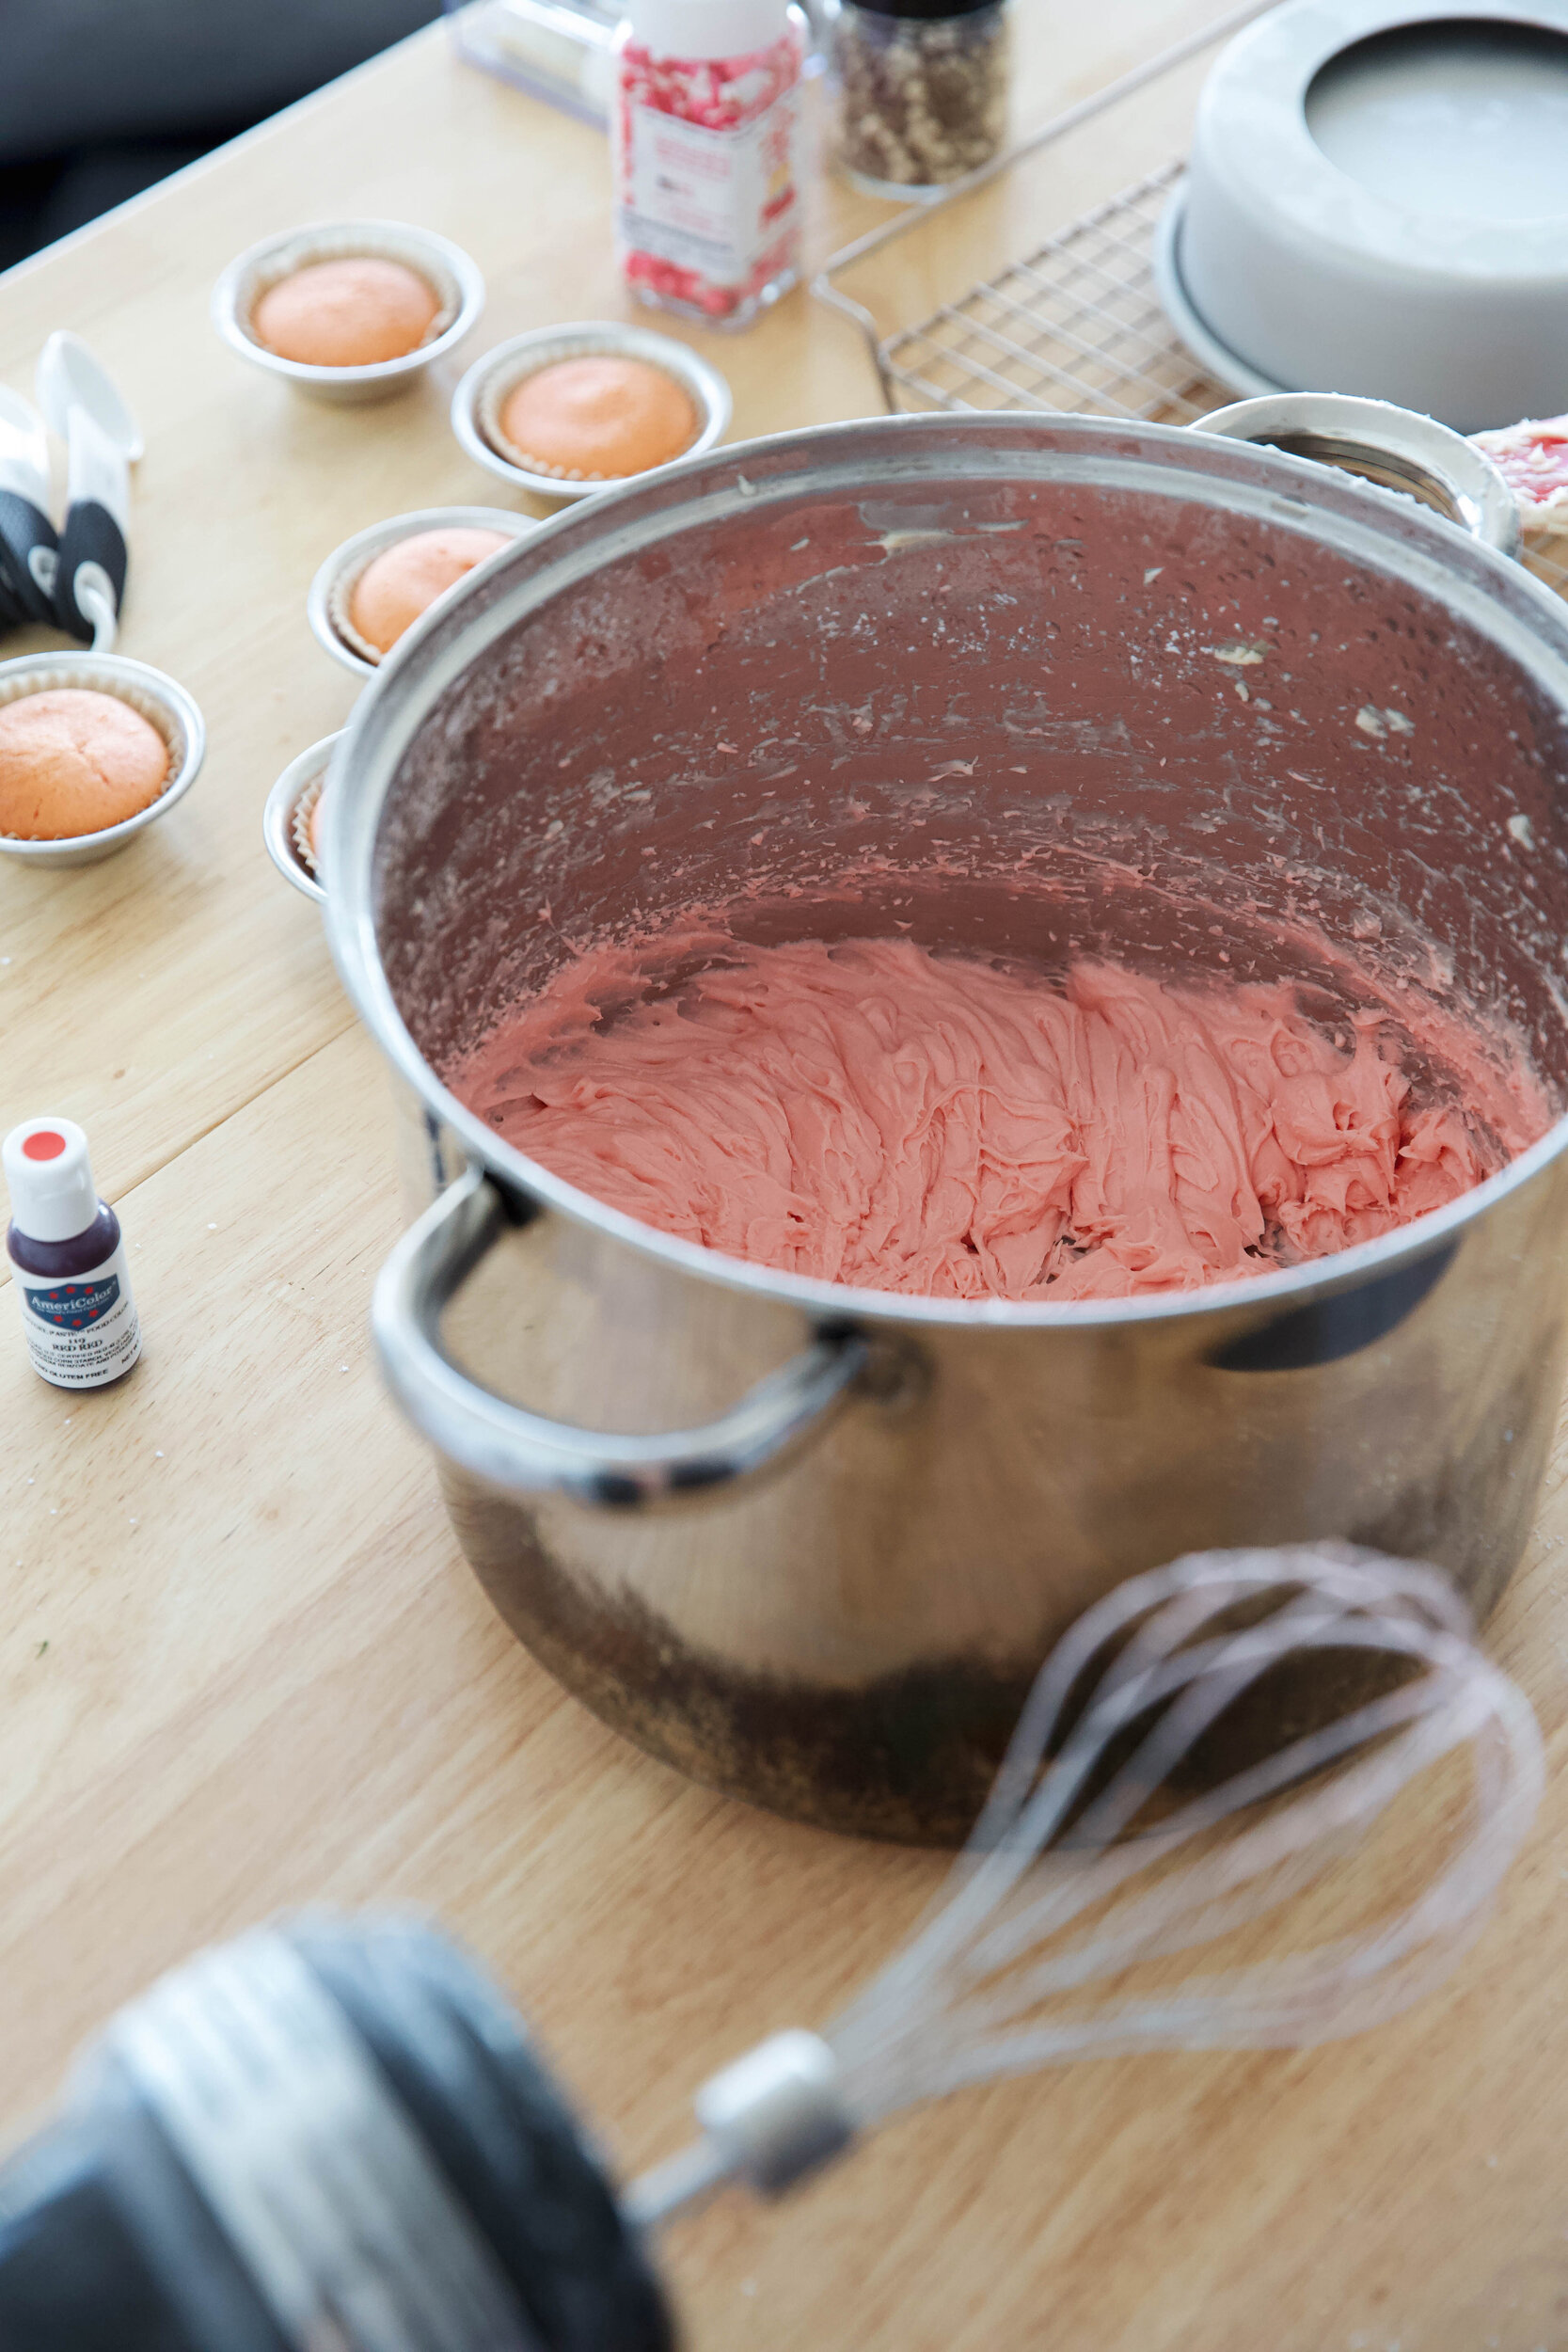
alternate icing sugar + champagne until desired consistency; add sour cream + salt

frost middle, cool in fridge for few mins; ice top
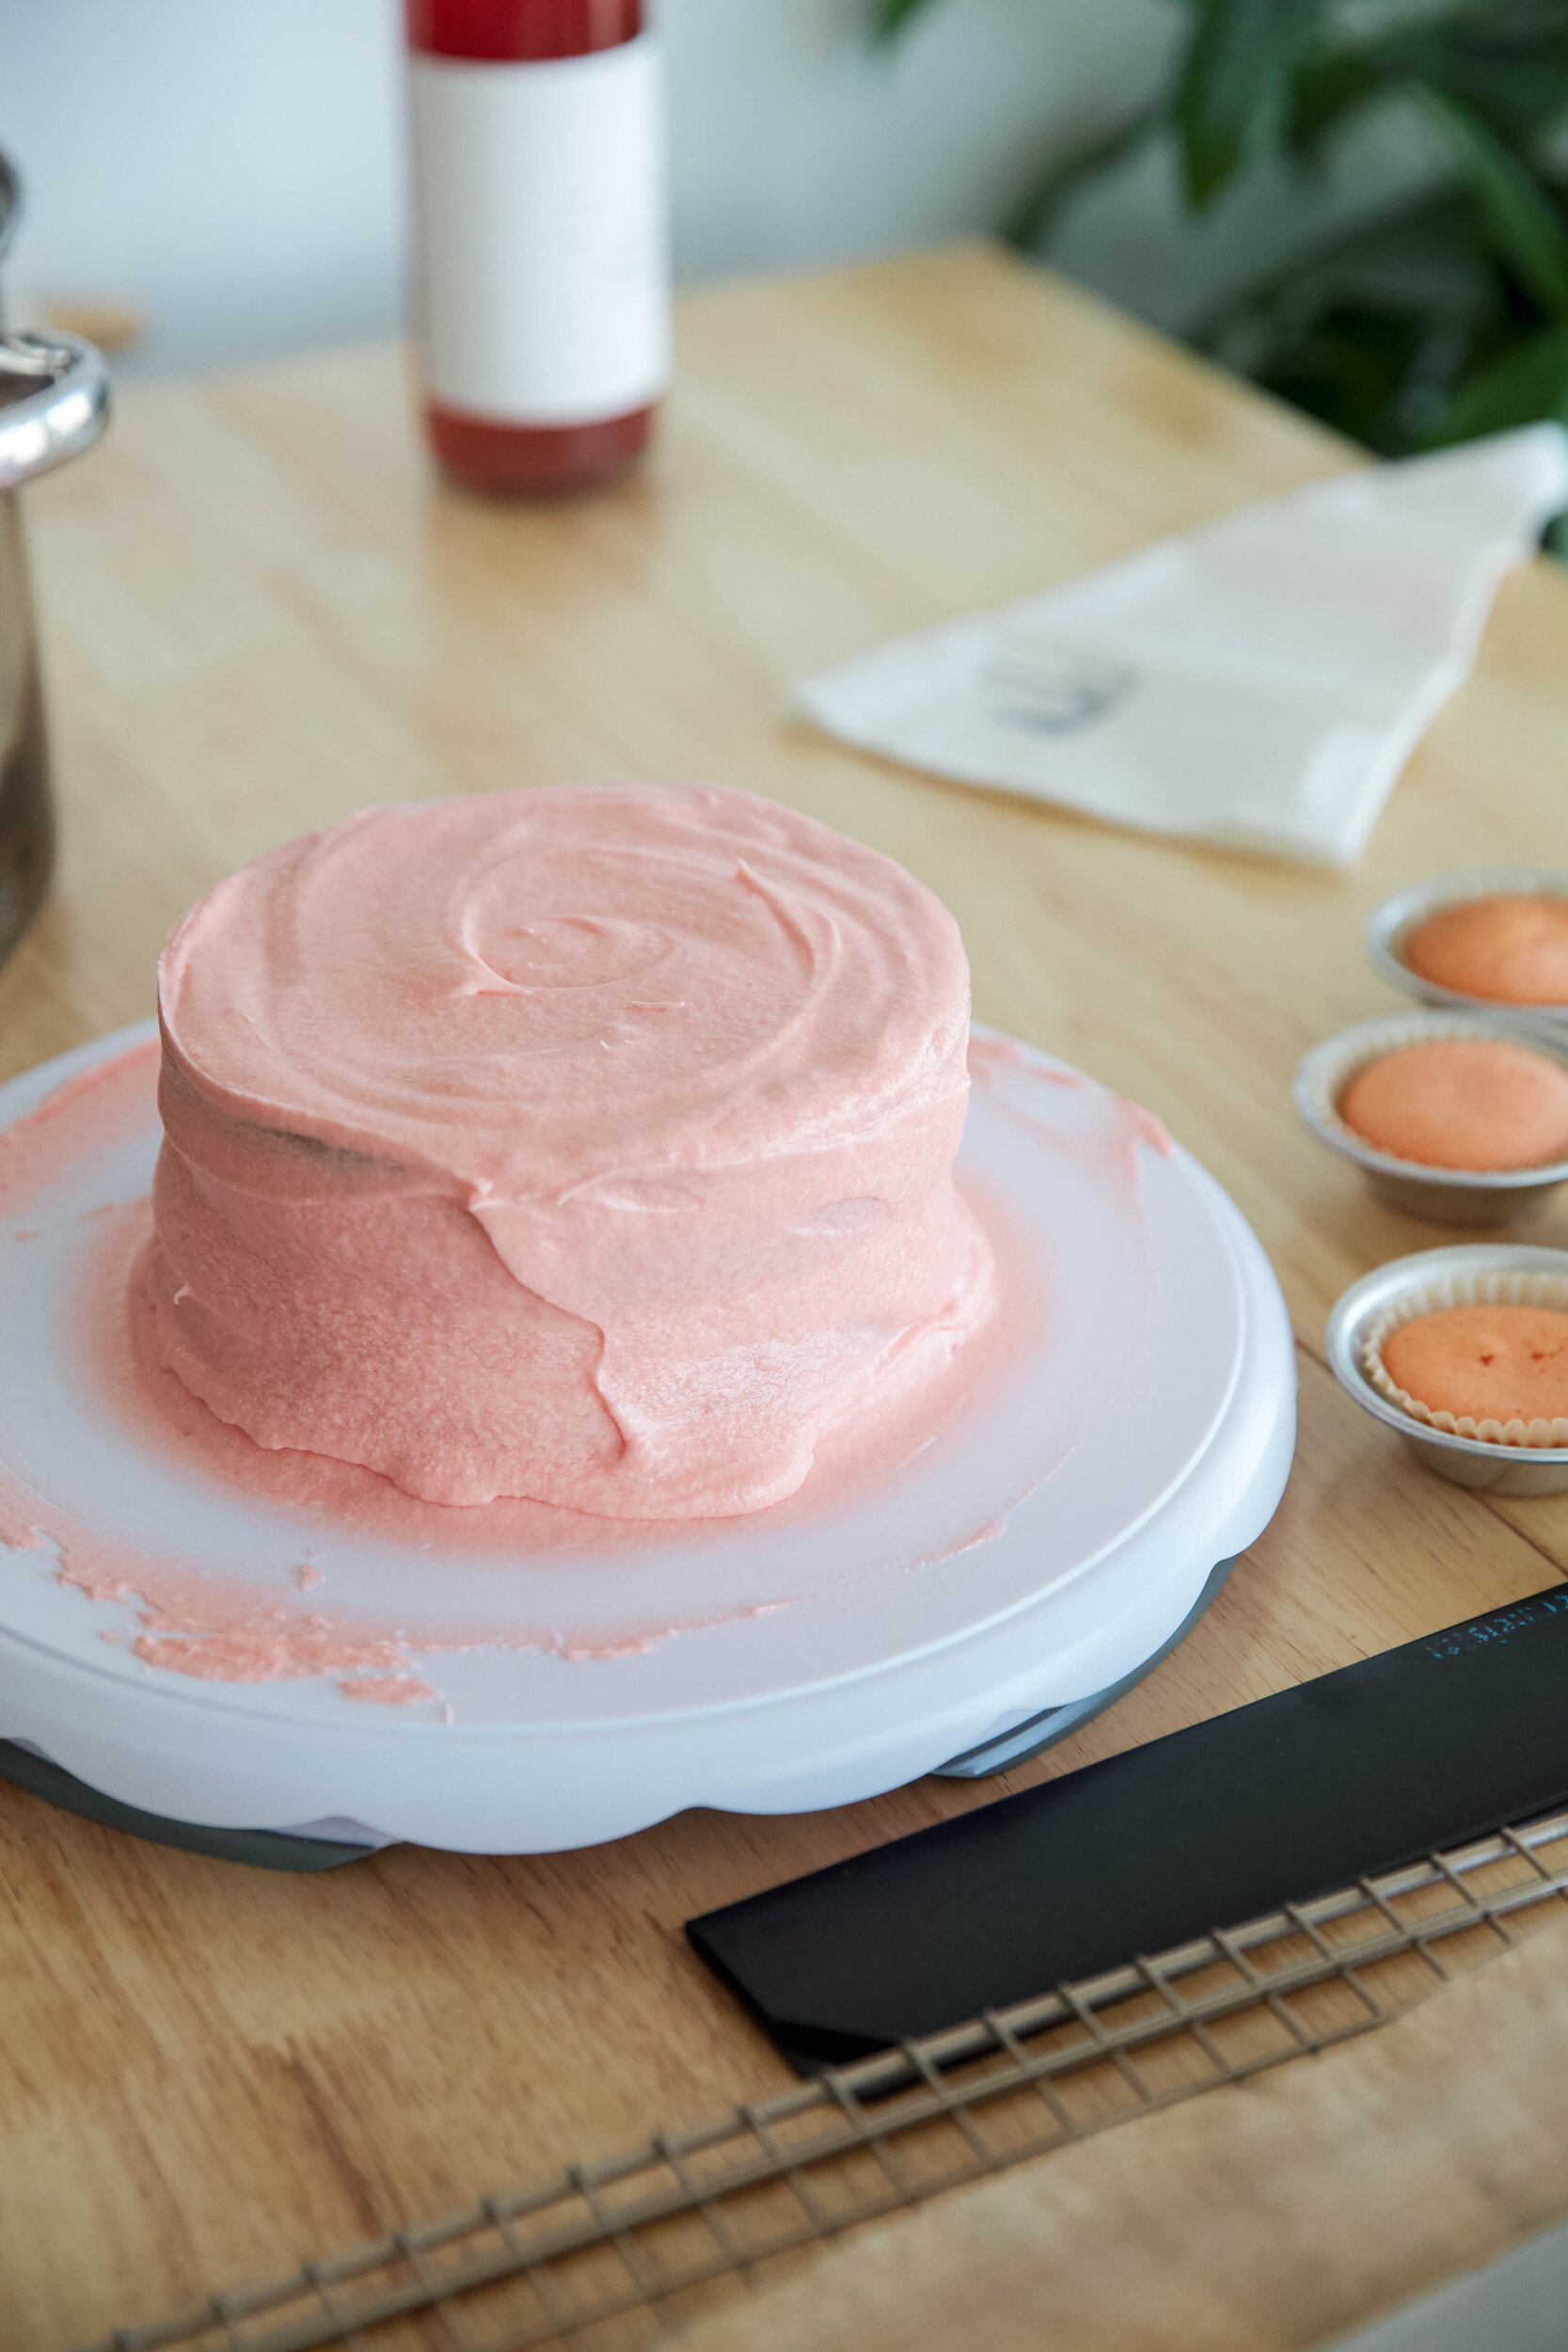
using angled spatula and/or gripped scraper, frost sides

add roses & white or ivory coloured decorating pearls
Questions? Put them in the comments below. Thank you for cooking with us!